Ready to make your own voodoo doll? You can do it in an hour or less!
In this quick tutorial, we’re going to show you how to make a voodoo doll with a few basic sewing supplies. It’s so simple anyone can do it, and by the end, you’ll have the perfect effigy for creeping out friends and family.
We can’t confirm whether or not you’ll be able to tether souls to this innocent little voodoo doll, but it sure is cute to look at. No sacrifices or rituals are involved. All you have to do is follow this simple guide!
Voodoo doll tutorial
Supplies:
- Pattern paper
- Choice of fabric
- Fabric marker
- Scissors
- Pencil
- Needle
- Thread
- Sewing machine (optional)
- Hot glue gun (optional)
Part 1 – Creating the pattern
Step 1
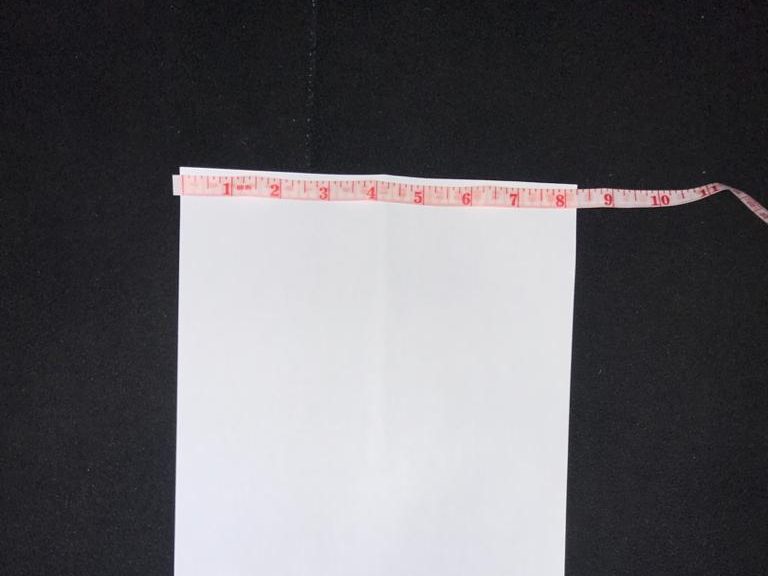
Choose your fabric. Any soft fabric will do just fine. To begin creating the pattern, use a piece of plain paper measuring 13″ x 8.”


Step 2
Fold your paper down the middle and draw your voodoo doll pattern on one half. Using a pair of scissors, remove the pattern by cutting along the lines while your paper is still folded. This will ensure that both sides are cut equally.


Step 3
Fold you fabric to create a double layer, place your paper pattern on top, and pin the 2 together using bobby pins. Next, trace the pattern on the cloth and cut the fabric along the edges of the pattern paper, leaving a 1/2 inch seam allowance for stitching. You should have 2 pieces of fabric like so.


Part 2 – Sewing the voodoo doll
Step 1
If your fabric pieces have have front and back sides, make sure the fronts are facing each other. Next, pin the pieces together, and with a sewing machine, sew them together on the 1/2 inch seam line, leaving a space of about 2 inches around the leg for turning the fabric inside out and stuffing the doll.


Step 2
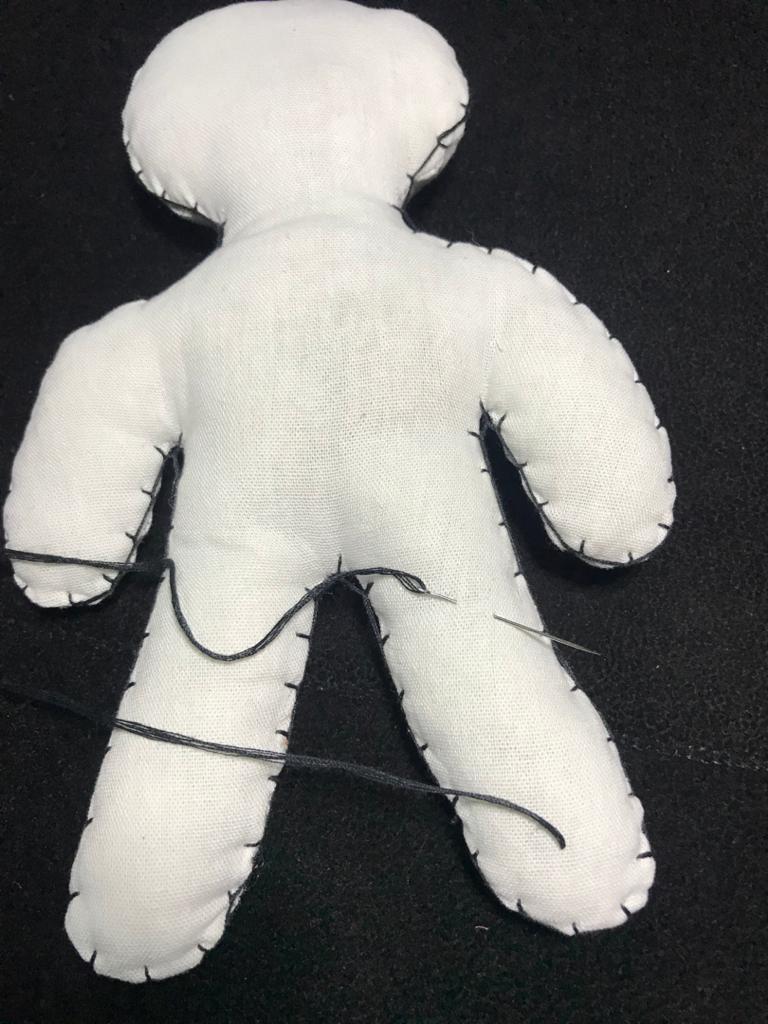
Notch all the way around the seam, especially the corners. Then, turn the fabric inside out through the opening you left unsewn. Stuff with synthetic fiber or cotton wool until the doll feels firm and takes form. Finally, use a ladder stitch to close up the space with a needle and thread.


Part 3 – Add decorations
Step 1
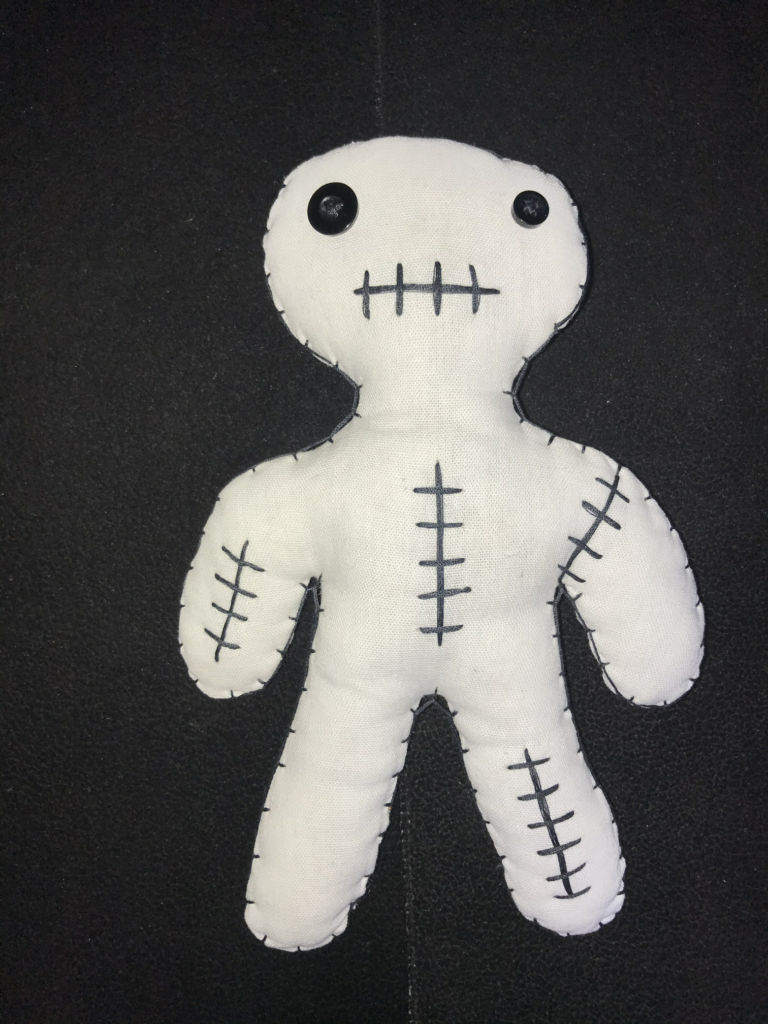
From here, you can add decorations to personalize the voodoo doll to your liking. We made blanket stitches on the seam line for a creepy, stitched effect.


Step 2
We used cross stitches to create the mouth and body scars. Do so by inserting the needle from the side to begin a stitch. Pull the thread over to form a straight line, and stitch across and over the straight line to get the scar.


Step 3
Hot glue or sew on buttons for the eyes, and your voodoo doll is finished!

Final words
There you have it: a complete guide on how to make a voodoo doll. Again, it’s fairly easy to make, and you can modify the design to suit your tastes if you know what you’re doing.
If strange things begin happening after you’re finished, we recommend checking out our guide on How to Destroy a Voodoo Doll. Don’t think you can just throw it away or tear it apart to dispel any curses you stir up. Either way, let us know how it works out for you…leave us a comment below!

Sehven high school
I want Andrew doll